TWAIN Scanning
Before you can commence scanning, make sure your scanner's TWAIN driver has been installed on the scanning stations computer (making a note it uses 32bit TWAIN scanner drivers). Then connect your scanner and make sure Windows has successfully detected the scanning hardware. Refer to your scanner manufacturer guide on these steps before proceeding.
The following steps are a guide to scanning with a TWAIN scanner in Umango.
Step 1 - Assign the Source
Ensure the computer that is being used as the scanning client is assigned as a source for the job(s) you will be scanning into. See the section on assigning device sources.
Step 2 - Select TWAIN Scanning
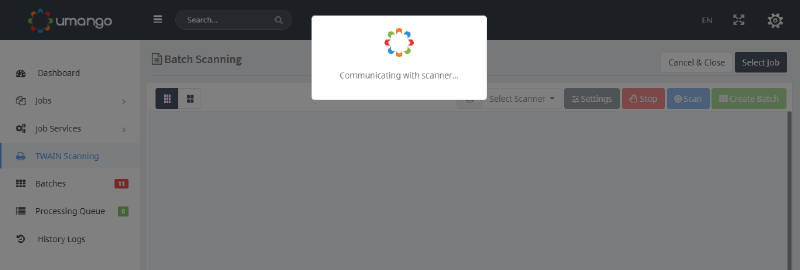
Select the TWAIN Scanning option from the main menu. This will prompt Umango to begin communicating with your scanning or prompt you to install the Umango Scan Actuator. The scan actuator is a small file that is the communication medium between the browser and the TWAIN driver. It must be installed before scanning can commence.
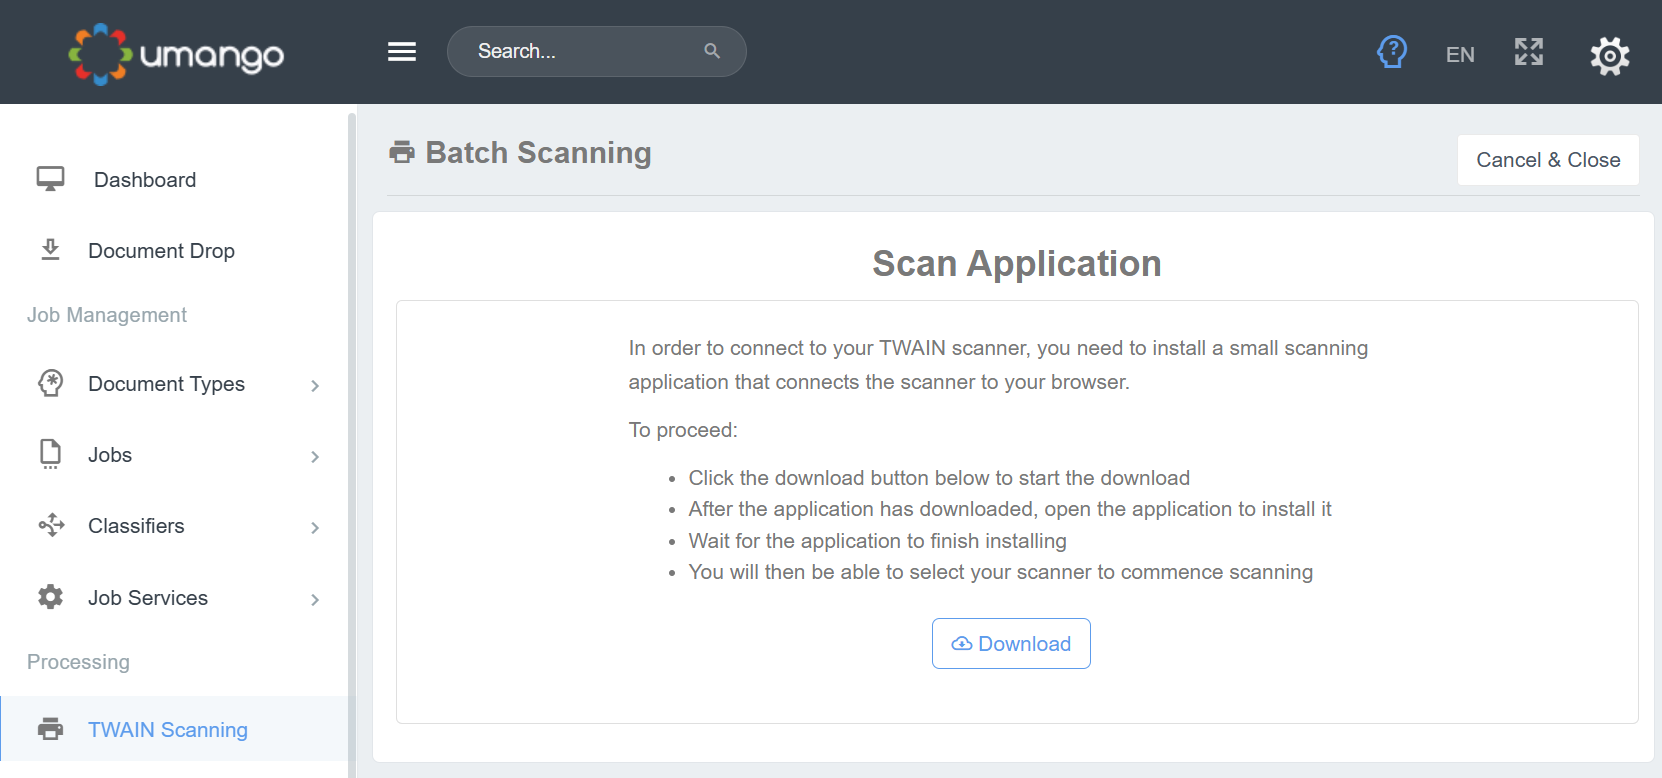
Step 3 - Install the Scan Actuator
If prompted install the scan actuator, proceed to download and install the program. Ensure that you also install the 32bit TWAIN driver for your scanner.
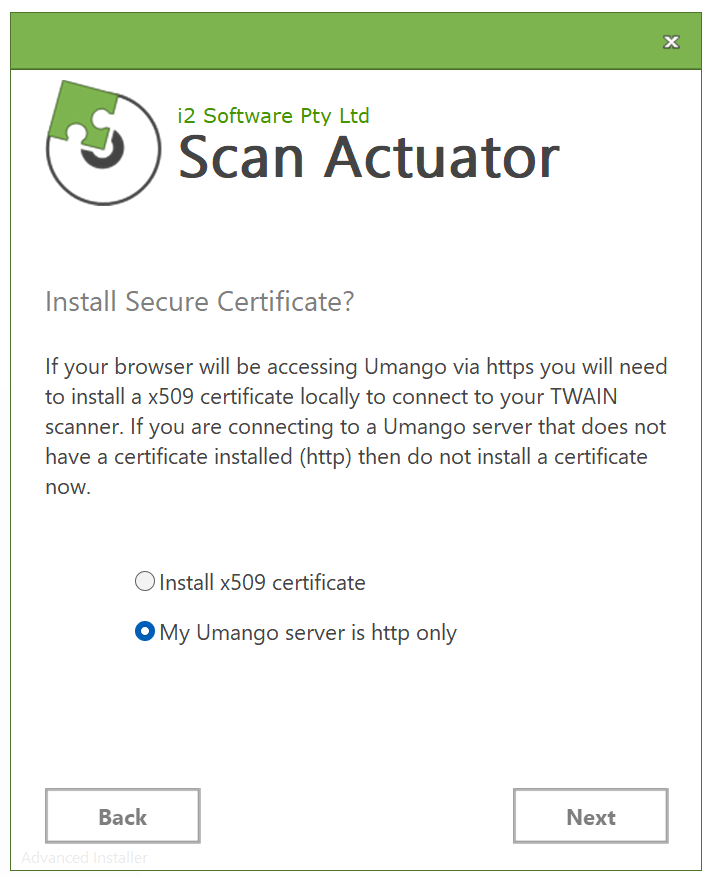
Scan Actuator Installer
Option - Install Secure Certificate?
Only select the option Install an x509 certificate if you have already installed an x509 certificate in Umango or if you have a Umango Cloud server. If you are unsure, you can determine this by how you access the Umango dashboard - if you use https to access the Umango dashboard then you should install the x509 certificate with the Scan Actuator. If you are using http then you should select My Umango server is http only.
Step 4 - Select a Job
Once the scan actuator is active, you will be prompted to select the job(s) that will be processing your scanned documents. Only jobs that have the workstation PC assigned as a source will appear for selection.
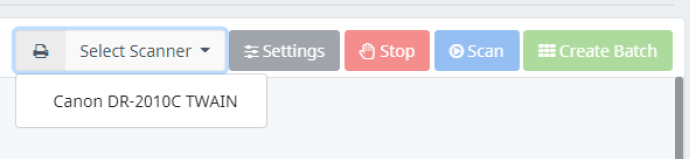
Step 5 - Select the Scanner
Select the TWAIN scanner from the scanner list.
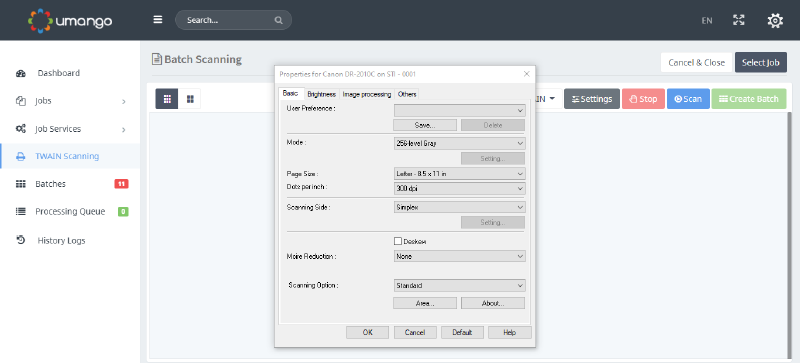
Step 6 - Configure the Driver
The scanner's settings dialog will then appear. Configure the scan settings according to your job's requirements. The configuration options will be dependent on the scanner driver and the scanner selected.
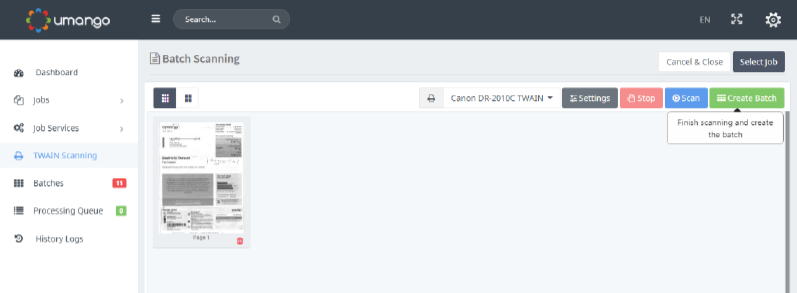
Step 7 - Commence Scanning
You are now ready to scan. Place your documents in the scanner's feeder and select the Scan button.

Step 8 - Create the Batch
Once you have finished scanning your batch, select the Create Batch button.
Step 9 - Process the Batch
The batch will be created and start to process. You will be promoted if user validation is required to complete the exporting of the scanned batch (user intervention is dependent on the settings within the selected job). Batches requiring user intervention can be viewed and processed by selecting the Batches menu